

WordPress is very easy to use, it’s really just a matter of familiarising yourself with the admin panel otherwise known as the “dashboard”. When you install WordPress you’ll get an address to sign into WordPress which usually looks something like this: http://www.yourdomainname.com/wp-admin
This is where you go to change all the options behind the scenes, including your design, blog settings and your pages and posts. Here’s an illustrated guide to help you get familiar with everything. Don’t worry – it can look colourful (and overwhelming) at first, but it’s easy to get to grips with WordPress. https://wordpress.org/
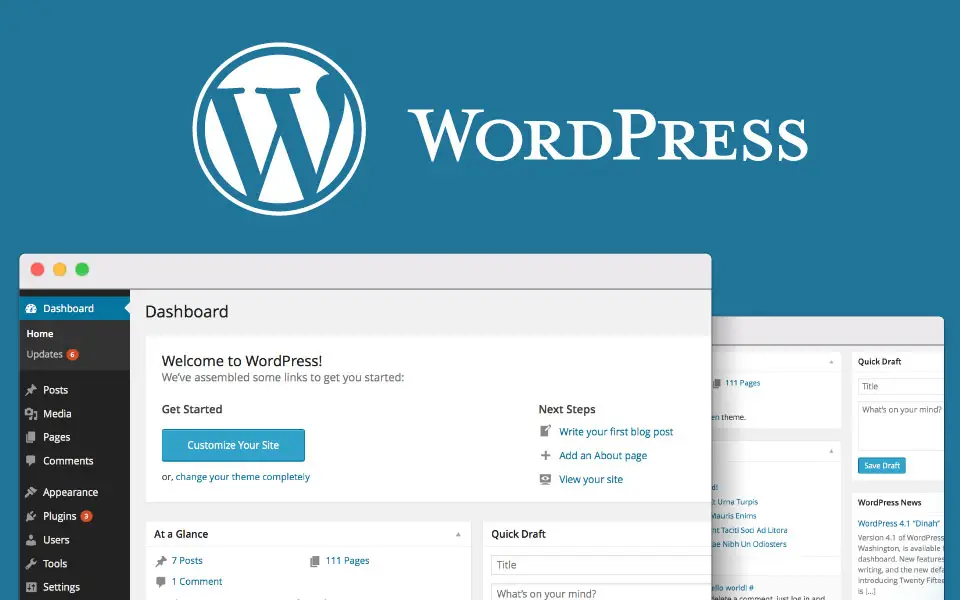
This is a view of what you’ll see when you first login to WordPress – it might look a little different, but you still have the same features. On the right you’ll see white boxes, these can be dragged and dropped so they’re positioned how you like them. The little triangle at the top right of the box means you can open or close the box. See that menu on the left (highlighted in a red square)? That’s the menu you’ll use to access all WordPress admin functions. Let’s go through each section one by one. Note that this list will vary depending on your theme and what plugins you have installed. We’ll go through the default options.
1. Posts
The first thing you’ll see is the Posts menu: All Posts: This will take you to a screen that shows all of your blog posts.
- Add New: This takes you to the New Post screen.
- Categories: This lets you add, delete, and edit your blog post categories. Putting different posts in different categories helps organize your blog and makes it easier to navigate.
- Tags: This lets you manage your post tags. Tags are labels for each post, such as keywords, that help you better organize your site. It’s okay to try each link to see what it does. Don’t be scared, you won’t break it!
2. Media
The Media menu lets you manage uploaded files – things like images, videos, PDFs, MP3s, etc.
- Library: This lets you see all the media you’ve uploaded in the past. You can rename and delete files if you need to.
- Add New: This brings you to the screen where you can upload new files. Note that, if you want to add files to a post, you can also upload them directly from the post screen.
3. Links
Next you’ll see the Links menu. This is tied to the All Links widget, so if you’re not using that widget to show the links you’ve chosen, don’t worry about these options:
- All Links: This will let you see and edit all the links you’ve previously uploaded.
- Add New: This lets you add a new link. Link Categories: As with posts, you can also categorize your links for better organization.
4. Pages
The Pages menu is similar to the Posts menu:
- All Pages: This is where you can see all the pages you already have on your blog.
- Add New: This will take you to an on-screen editor to add a new page. Remember that a page is different from a post. A post is a blog post, and is an easy way to give your audience an update. Whereas a page is an actual new page of your website that should be considered more “static” like the old days of web pages. However, with WordPress, it’s actually easier to add and subtract a page than it is to create a blog post.
5. Comments
Most WordPress blog users want users to be able to leave comments. These comments will appear at the end of each post. Rarely, some people decide to turn off comments. If that is the case, you don’t need this menu. Otherwise, you’ll be able to use it for a number of tasks. Clicking on the Comments menu will take you to a page where you can moderate comments (check for spam), edit comments, delete comments, and reply to comments.
6. Appearance
Next up we have the Appearance menu. This is where all the options are for changing the way your site looks. Let’s go through them one by one:
- Themes: This section will allow you to search for themes to install, or upload your own themes. Themes are templates that completely change the look of your site.
- Widgets: Widgets allow you to add specific elements to your blog’s sidebar, like a list of recent posts, a search box, HTML code, etc.
- Menus: This section is used to choose which pages your navigation menu will show on.
- Theme Options: This may be there depending on which theme you have installed. If it’s there, it will allow you to change elements of your theme such as the layout or colors.
- Editor: This is for more advanced users, for those who want to edit the code of their theme to make more customizations.
7. Plugins
Plugins can add a lot of functionality to your WordPress site, without knowing any code. You don’t need to use plugins, but most people do. Here are the plugin menu options:
- Installed Plugins: This will let you see a list of all the plugins you have installed. You can delete, activate, and upgrade plugins from here.
- Add New: Use this to find free WordPress plugins or upload plugin zip files.
- Editor: This is for advanced users to edit the coding of plugins for further customization.
8. Users
In some situations, you will have multiple users signed up to your blog. This could be customers, or it could be virtual assistants who help you post to the blog, or even a co-owner with the same admin privileges. Even if you don’t have other users, you may still need to use this menu to change your profile/password:
- All Users: This is where you see all users signed in to your blog. You can delete and edit them when necessary.
- Add New: You can manually add new users this way. Useful when you want to grant access to other people – you can let assistants, for example, edit your posts, but not change your settings.
- Your Profile: This is where you can change your own settings, such as your password, email address or avatar and in this section you can even choose the color of your WordPress dashboard! As you can see from the images mine is green and purple.
9. Tools
You don’t need to use the Tools menu unless you add an extra menu option. However, it’s worth noting the Import and Export links, which will let you back up your content (blog posts and pages) and media to move them elsewhere, or import content from another blog into your new WordPress installation.
10. Settings
When you first set up a new blog you’ll want to go to the Settings menu. Don’t worry if some things are over your head. These are the most important settings to check:
- General: This is where you can change your blog’s name and tagline, your URL, the time zone, and your main notification email address.
- Writing: You probably won’t need to change these settings. But use it if you want to post via email (an advanced feature) or change the default post and link categories.
- Reading: Use the settings here to change how many posts show on your homepage, and whether you want your site to show up in search engine results.
- Discussion: Here, you can change various settings for people commenting on your blog, and the notifications you receive. You can probably keep these as is.
- Media: It’s unlikely that you’ll need to change these settings, which determine the thumbnail size for images and the location of uploaded files.
- Permalinks: You’ll definitely want to change your permalinks. By default, every new post you publish will have a URL like yourl. Instead, choose the post name option for a URL like yourly so you can remember your URL on specific pages!
11. Updates
One more tip about the dashboard. If WordPress, or your theme, has released an update, this is where you’ll see the announcement. It’s recommended to keep WordPress updated at all times. Remember that if you update your actual theme, if you’ve customized it anyway, those changes may be lost. Always read the guidelines when it comes to your WordPress website and the themes you use. If you use what’s known as a child theme, you won’t lose customizations with an upgrade. More on that in the chapter on frameworks. The best way to familiarize yourself with your admin panel or “dashboard” is to just get in there, click around and familiarize yourself with which buttons do what. Don’t be intimidated. You can always uninstall it all and start over if something goes wrong.
Read Also:
- How To Install WordPress
- Things You Will Need To Build A WordPress Website
- Something About WordPress
- Why Start Blogging With WordPress
- Top 10 WordPress Plugin For Blog
- Which One To Start Blogging With? Difference Between WordPress VS Blogger
- Rank Math VS Yoast? Which Is The Best WordPress Plugin For SEO
- How To Fast WordPress Blog Site
- How To Fast WordPress Blog Site
- How To Create A Personal Blog With WordPress.Com
